Convert to CAD
When your project calls for substantial editing of your original drawings, we always recommend our conversion to CAD alternative. Although this is more expensive than simple scanning, a true CAD file will allow you to use your design software (AutoCAD, Microstation, Revit and many others) to take full advantage of your legacy drawings. This will save costs though the analysis and design phases of the project and result in fewer mistakes and savings in unnecessary labor. The overall project timeline is reduced as well.
What You Get
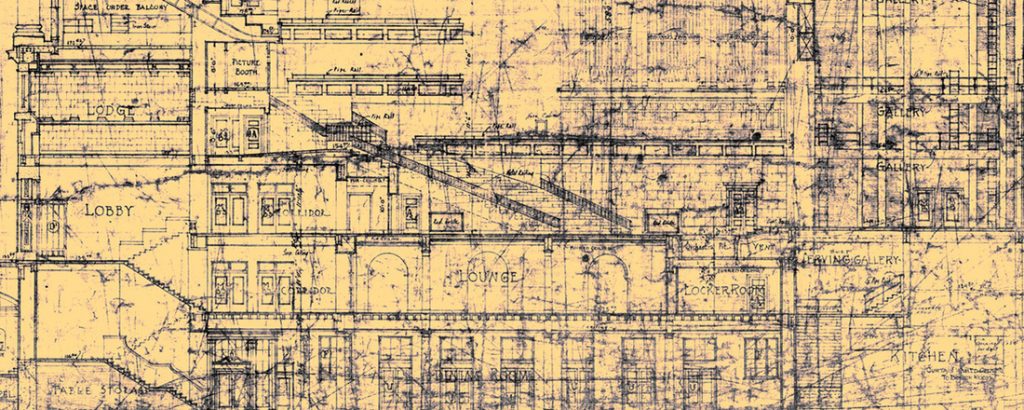
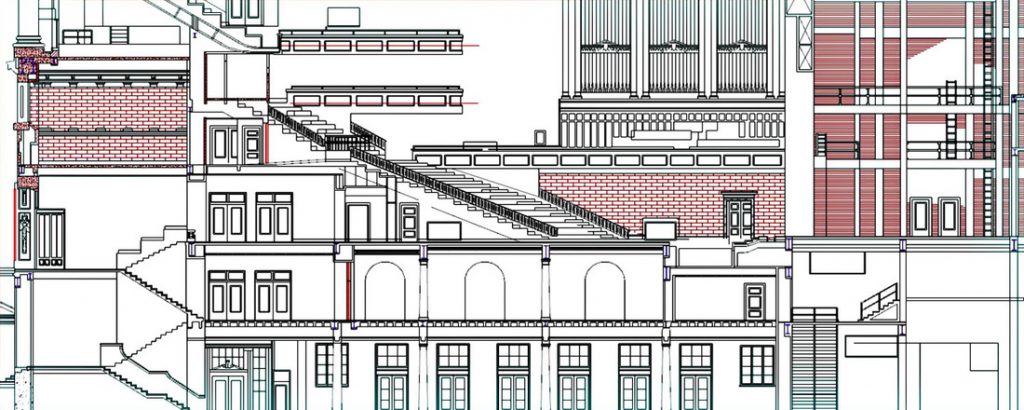
The pictures below say it all. We take the old and faded original sepia print from 1928 on top and return to you the brand new CAD file shown below it. All in a matter of hours, not days. With an unconditional warranty of accuracy, completeness and standards compliance.
How We Do it
For many years, drawings were created by hand, using manual labor and large drafting tables to commit designs to paper. Either new buildings, factory machine layouts or site surveys were permanently affixed to the drafting paper, linen or vellum. For an eternity.
Changes were labor intensive, tedious and expensive too. Redrafting entire tracings was usually the only option available to document design changes, additions or corrections.
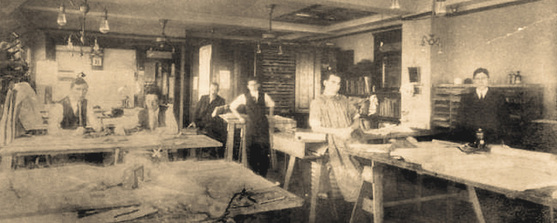
Today, this is no longer the case, of course, but for legacy drawings to be incorporated into your digital workflow, they must be digitally available first. Moreover, for CAD conversion to be useful, digital drawings must be dimensionally accurate. CAD and 3D modeling software require correct “real-life” size information to be incorporated in the design process. We always prepare and deliver correctly sized drawings, using written dimensional annotation from the original. If this is not available, we may use field measurements or even dimensions found in another drawing in the set. This is how we define the correct size and placement of drawing items. We never size drawings using a “nominal” scale or use automated software to “trace” a scan. Instead, we draft the information, using precise keyboard entry and real operator’s knowledge. This is the trademark of our Conversion to CAD philosophy.
We pay full attention to these three issues every day.
Over the years, we have developed new and better ways to prepare the kind of CAD documents our clients need. The three most important are accuracy, completeness, and quality assurance.
- ACCURACY – Refers to how close the CAD output matches the original source. True geometry is maintained or restored.
- COMPLETENESS – We make sure nothing is missed or misinterpreted during the conversion. Software alone can’t do this.
- QUALITY ASSURANCE – Verify that our final CAD file is a faithful interpretation of the original

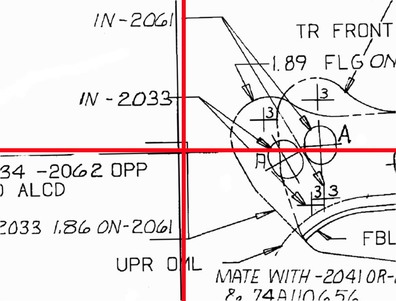
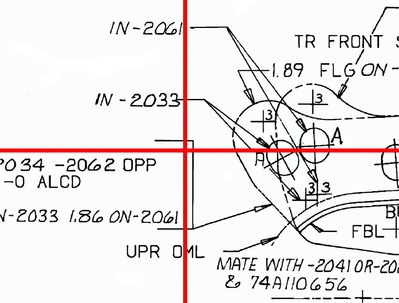
Next, we identify every grid intersection on the scanned image and reposition it to the correct location shown by the accurate vector lines. With all source and destination points defined, we run our image processing software to actually remove the distortion or “rubber-sheet” the image to the correct geometry. This corrects for inaccurate positioning due to stretching, angular irregularities, and differential x-y scaling. The image is now ready for vector conversion. Below are close-up views of an intersection before and after correction. Of course, after conversion, the control grid is discarded and does not appear in the final deliverable.
For example, the hospital floor plan from 1994 shown below contains over fifteen layers, such as:
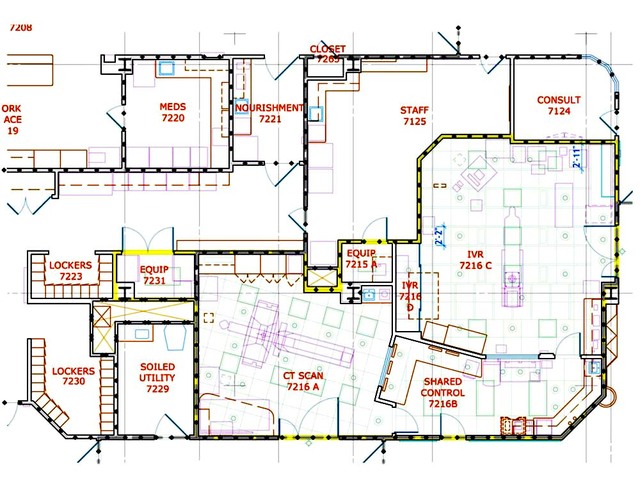
A-ANNO – Architectural notes
A-DIMS – Dimensions
A-WALL – Full-height walls
A-CLNG – Ceiling grid
A-DOOR – Doors and Frames
A-GLAZ – Windows, glazing
A-CSWK – Casework, shelving
A-FLOR – Floor level features
A-STRS – Stairs, handrails
A-EVTR – Elevators
A-EQPM – Medical equipment
S-GRID – Structural grid
S-COLS – Structural columns
P-FIXT – Plumbing fixtures
M-EQPM – HVAC equipment
E-POWR – Power outlets
E-LITE – Lighting fixtures
Once the conversion to CAD work is complete, the Quality Assurance phase begins. It is the last stage in the production process, but certainly, one of the most important components of the whole. QA is a highly structured process, guided by experienced and knowledgeable CAD professionals. We have developed software specifically geared for the task, but ultimately, it relies on human experience. QA makes our CAD files ready for integration into your CAD/BIM workflows.
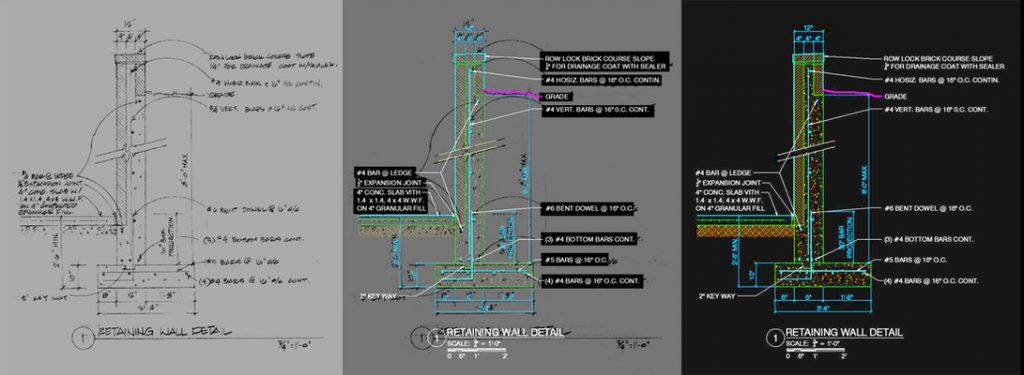
Our Quality Assurance process consists of three sequential steps. These are illustrated above on a site detail scan dating back to 2002. We converted it to CAD in 2016. Each panel from left to right corresponds to one of the three QA steps below.
- SCAN INSPECTION – Review source scan to understand and assess the contents of the original drawing. Research marginal data.
- OVERLAY COMPARISON – Methodically toggle on and off the overlaid CAD and image, then check and tag each item individually.
- CAD CORRECTIONS – Correct the CAD data by addressing each tag instruction. Verify all discovered errors were corrected.
1.
Scan Inspection
The first step consists of reviewing the original source data to understand the contents of the drawing. Of course, this is also done by the technician doing the initial CAD conversion work, but this step adds a second set of eyes looking at the data. This ensures nothing is missed or misunderstood. During this step we usually discover items that are not entirely clear, either the image is somewhat obscured or dimensions simply do not add-up. We call these items “marginal data”. The team collectively decides what the barely legible word should be or how to solve the dilemma of incorrect dimensions. Either way, the end result is a CAD file that is as free of errors as humanly possible. If any item cannot be safely converted to CAD, then it is tagged with a red rectangle and identified as “illegible” to the client.
2.
Overlay Comparison
The second step consists of running though the CAD file contents, one CAD object at a time, to compare it to the underlying scanned image. This superposition plus our software’s ability to very easily toggle the overlay on and off, allows the QA reviewer to determine the accuracy, completeness and correctness of the CAD data. Once verified, the individual item is tagged by a single click, which creates a temporary black background rectangle that identifies the CAD item as “checked and passed”. This assures no object is missed and eliminates repetitive and unnecessary double checking.
3.
CAD Corrections
Finally, the last step includes the actual corrections to the CAD data. By using the tags embedded in the file, our CAD technicians move though the contents very quickly and perform any corrections as identified by the QA manager. These may range from simple layer changes and correcting typos or misspellings to more substantial redrafting tasks, if needed. Occasionally, discovering an incorrect dimension triggers a substantial edit operation that may affect a large portion of the drawing. In fact, an error discovered in one drawing sometimes affects several other drawings, which we correct as well. An example of this is a dimensional error discovered in a multi-level building, where all upper floor plans must be edited to maintain correct “stacking” from floor to floor.
